2.6. Open OnDemand#
Open OnDemand is a user-friendly, web-based platform designed to facilitate access to high-performance computing (HPC) resources. It streamlines the process of using HPC by providing a no-install, browser-based interface through which users can submit and manage jobs, upload and download data, and run a wide array of applications without any complex command-line instructions. Among the many applications it supports, Open OnDemand offers direct access to RStudio Server, Jupyter Notebook / JupyterLab, and Remote Desktop.
2.6.1. Interactive Jobs on Open OnDemand#
Note
Use this link to access Open OnDemand: https://vdi.rc.fas.harvard.edu/.
A pop up window will appear asking for your
FASRC username
password
You will need to use the VPN to access Open OnDemand.
The following figure shows the landing page of Open OnDemand. You can learn more about Open OnDemand by visiting the FASRC documentations.

Click on the Jupiter Notebook icon. This will open a new tab to allocate resources.

Fill out the form and click on the Launch button at the end of the page. This will put you in a queue.
Note
You need to specify the Slurm Account (Optional) field if you wish to use the Kempner cluster or target a specific SLURM account in case of multiple lab memberships.

Once the job is running, click on the connect to Jupyter button.

This will open a new tab with the Jupyter Notebook interface. Depending on your conda kernels, you will see different options to start a new notebook.
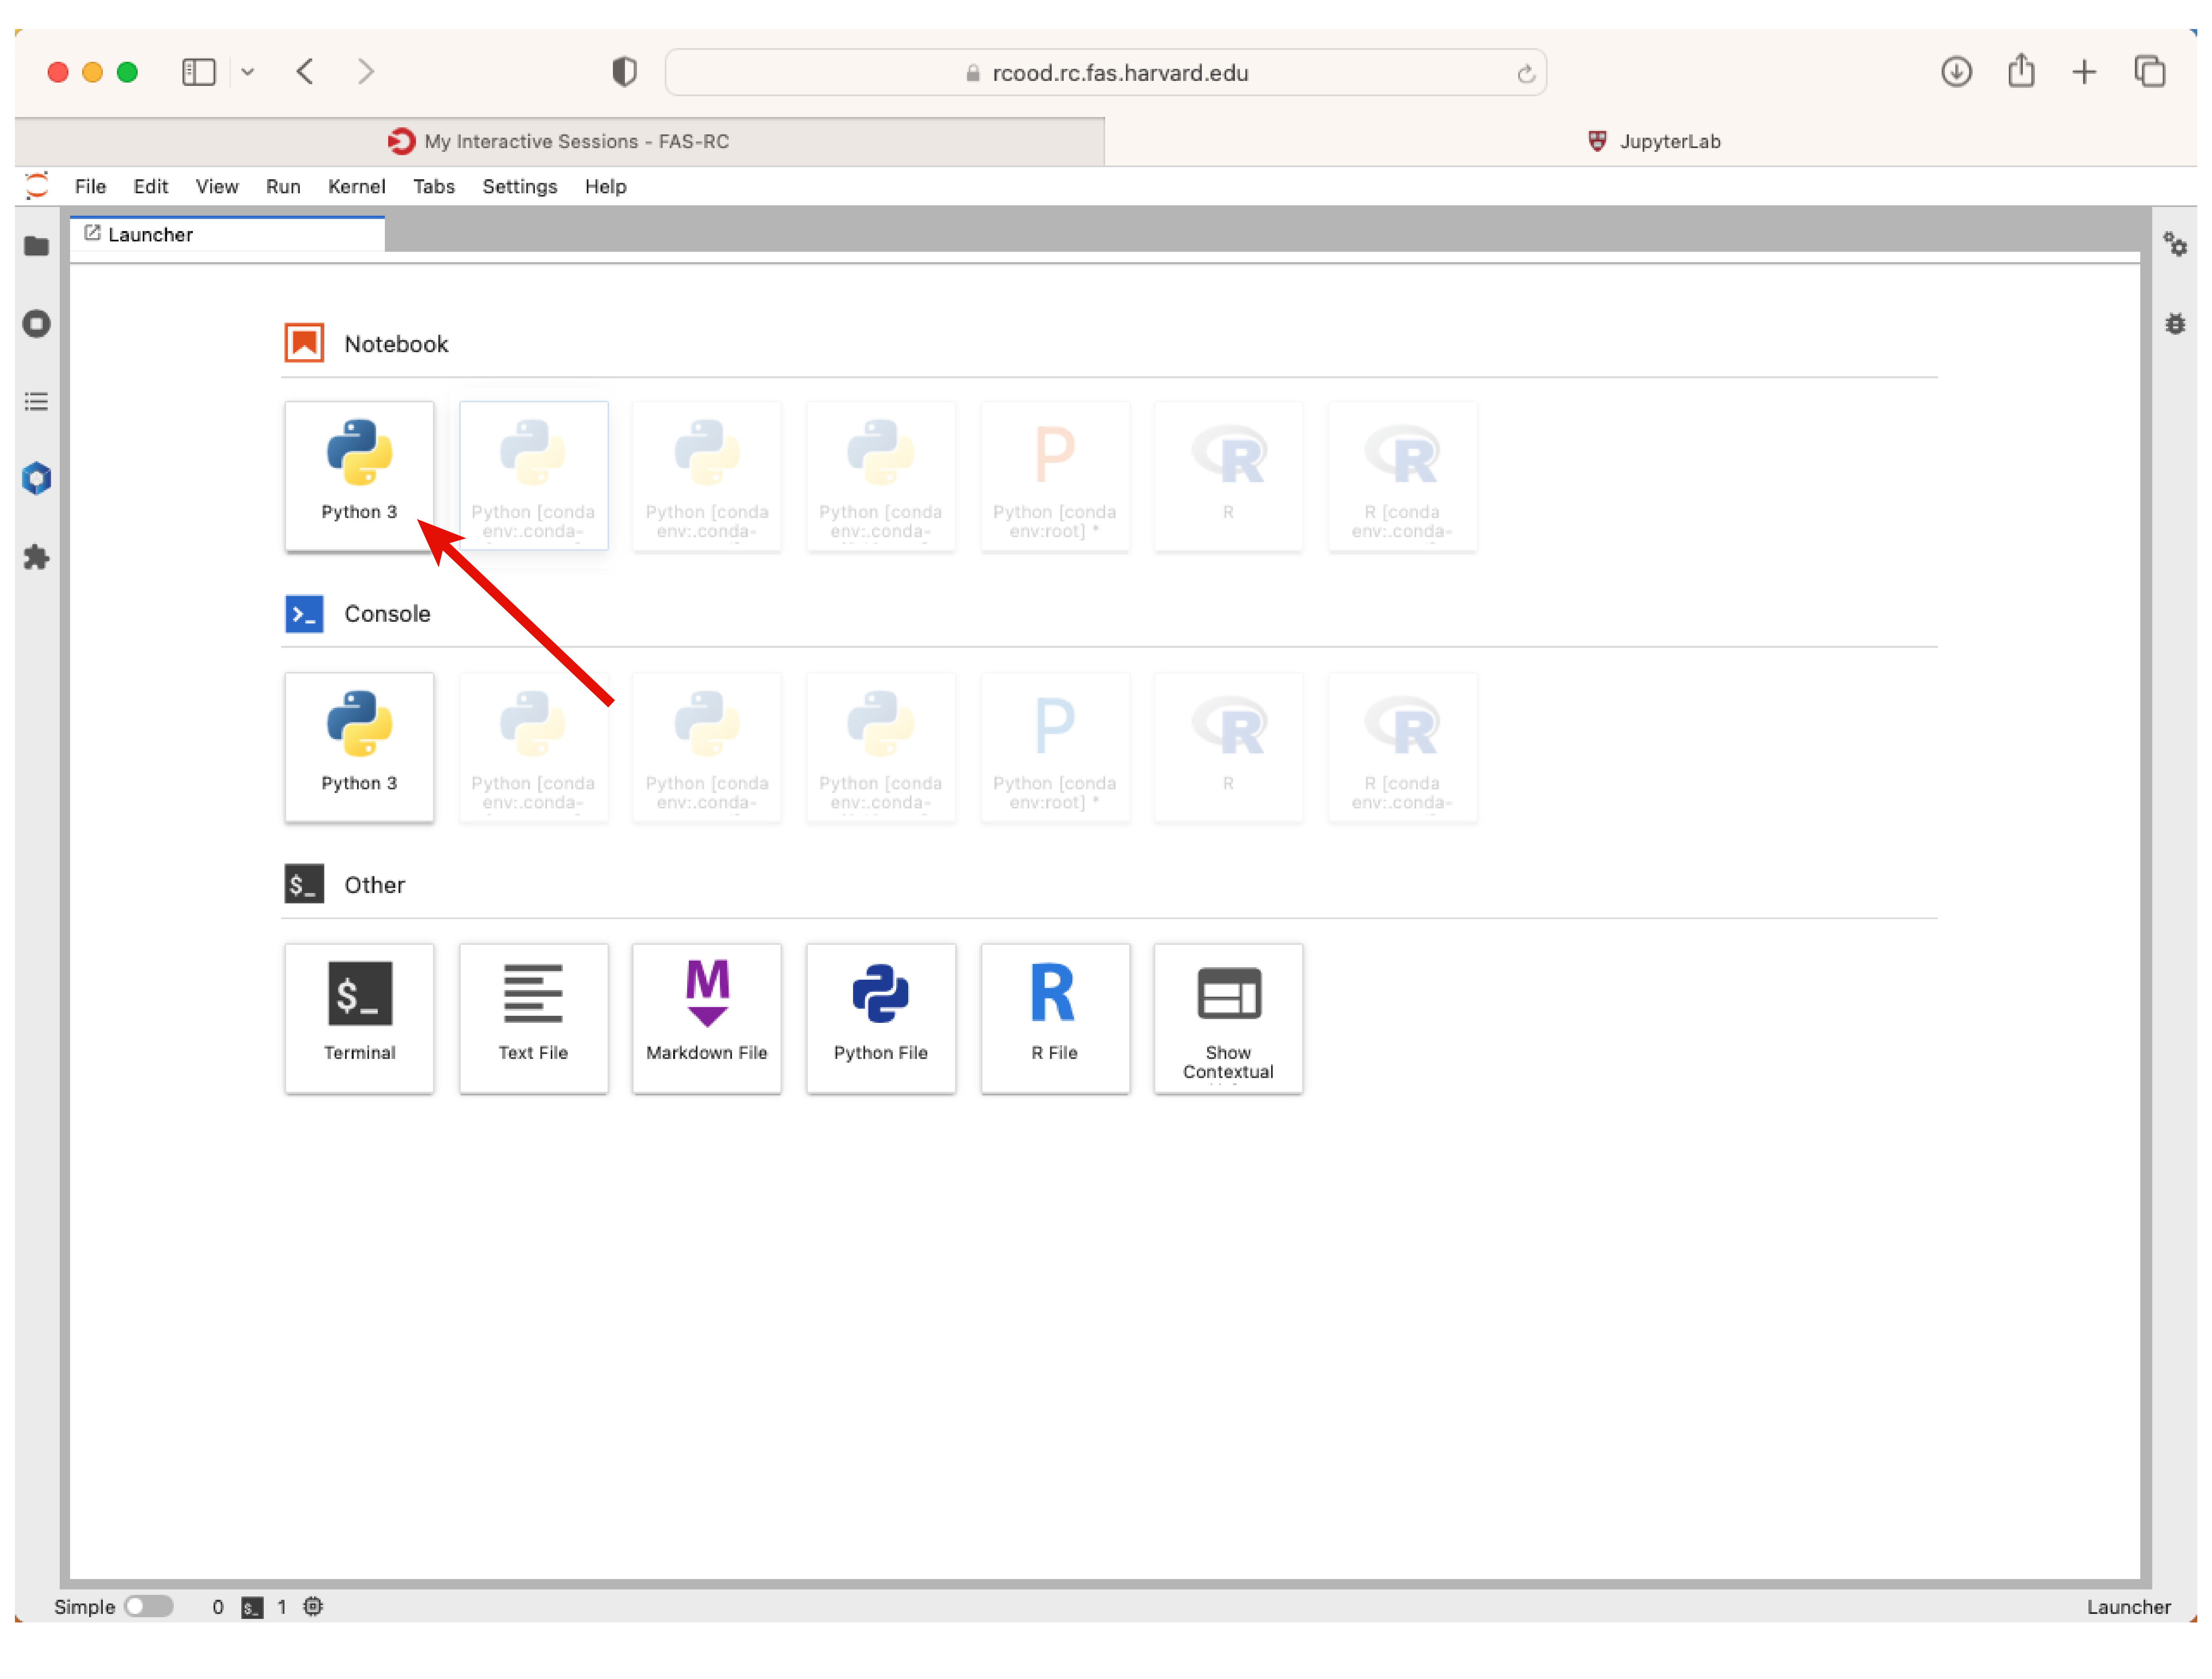
Click on the Python 3 option to start a new notebook, and run !nvidia-smi to check the GPU status.

Done!
2.6.2. Conda Environment in Jupyter Notebook#
To access a user-defined Conda environment in Jupyter Notebook/JupyterLab, you need to first create a Conda environment on the cluster. Follow the instructions in Creating a Conda Environment and Using a Conda Environment with Jupyter.
When creating a new notebook, you can select the kernel - you should see any conda environments as part of that list. In existing notebooks, you can change the kernel by clicking Kernel -> Change Kernel at the top of the notebook.